 Loading

Over the years I have owned a couple of dedicated slide/film scanners and, frankly, I was never totally satisfied with the results from them. One of the characteristics of the old slide film, particularly Kodak, was that it was fairly contrasty and high in saturation. The typical consumer-level scanner, in my experience, has real problems handling those darker more saturated areas because of a lack of dynamic range. The result is either "soot and whitewash with some colour" or electronic noise. I tried using specialised third party software and, although it helped, I still was less than satisfied with the results.
Finally the penny dropped for me. The commercial scanners rely on a sensor chip in the same way as our cameras, but the camera sensors are far more capable in terms of pixels and dynamic range. On that basis, why not use the camera to do the copying? Even more so when I already had a perfectly good macro lens. Using the camera also allowed the slide/film to be copied as a RAW file, with far greater scope for adjustment than would ever be possible with the JPG from a scanner.
I make no pretenses, my setup is quite crude and could easily be built with more refinement and quality. But that would take more time to build and needs to be appropriate to the volume of material for copying. The main thing is that, even at this rudimentary level of construction , the system works. Care to have a try?
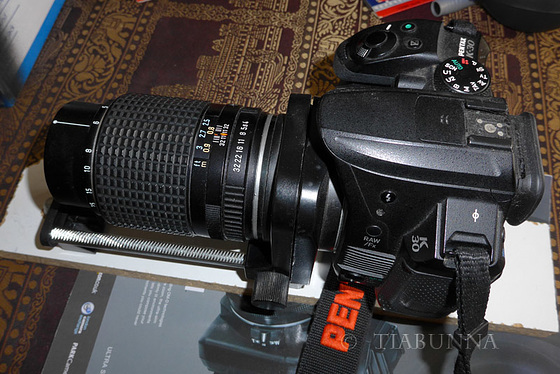
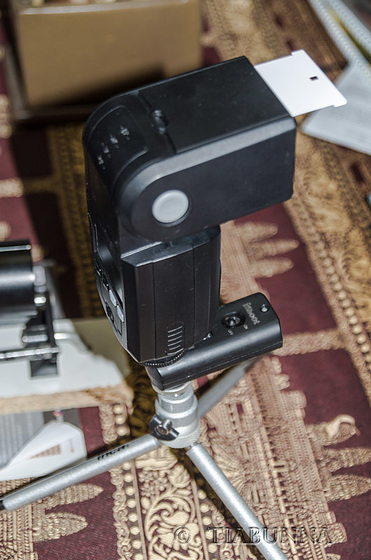
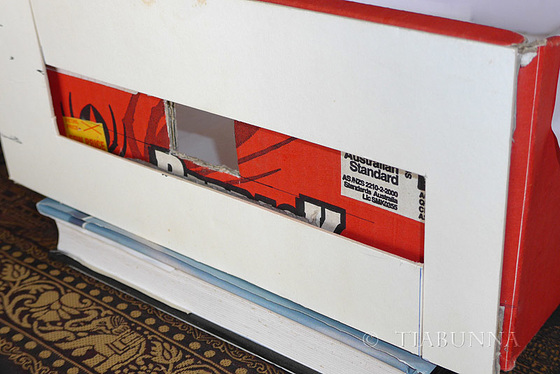
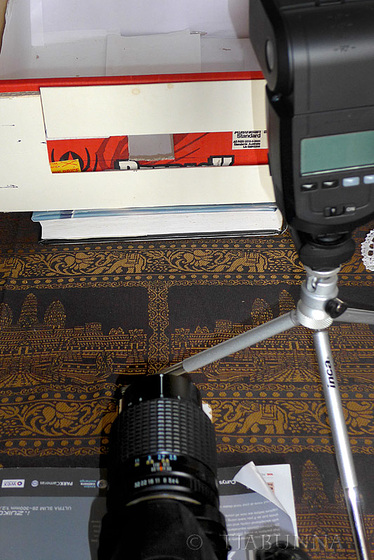
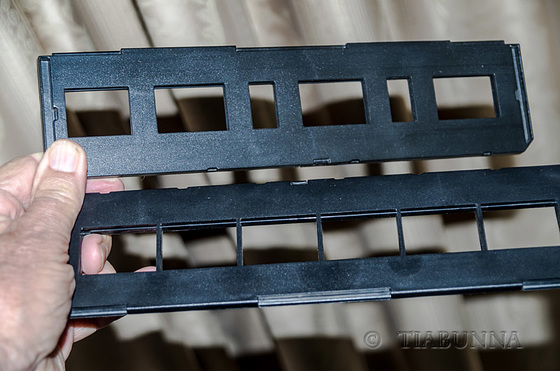
I have found it useful to have a small LED torch inside the box, facing toward the slide/negative to provide back lighting to check for centring and focus with the camera. This need not be turned off when copying, as the light from the flash comfortably overwhelms it.
Finally, from experience, the most frustrating part of the process is to find grit on the output images when the copying is done. The processing time to remove these marks from just one image can easily take longer than it does to copy quite a few images - you will save an awful lot of cursing and time by cleaning the originals with a blower brush (though some grit always seems to remain).
I hope this proves interesting and helpful, I'll be interested to hear how you go should you try this approach.
5 comments
Peter Van Lom said:
I totally agree with your observation of the grit on the images. It was then that I found out that it was not only dust but also mold that had formed on the slides. Especially the slides that were 'behind' glass had the mold problem. And yes it takes a lot of time using the spot healing brush tool afterwards.
Just for documentation purposes I take pictures of (old) photos that are glued in photo albums. It is fast and good enough for documentation.
William Sutherland said:
Roger (Grisly) said:
I have all the necessary bits and pieces it's just the time that becomes a problem but having read your interesting article I just have to give it a go sooner rather than later.
The comparisons will be interesting.
Gudrun said:
I started on my slides using a dedicated slide and negative scanner (Reflecta CrystalScan 7200) which has rather high quality but I met the same problems with dark areas when trying to lighten them up. With a bit of photoshopping they are quite O.K. though. I must admit I haven't continued scanning for quite a while now, I don't even know whether the scanner will work on my notebook;-) I doubt I'll get round to trying your method though RAW files would be a big plus.
LutzP said: